How to do Handstand Pushups with Noah Ohlsen
Handstand pushups are a tough movement to conquer. It’s one of the few exercises that require you to be inverted. CrossFit Games Athlete, Noah Ohlsen, shares his tips for how to do a handstand pushup.
 Step 1: Practice Inverted Position
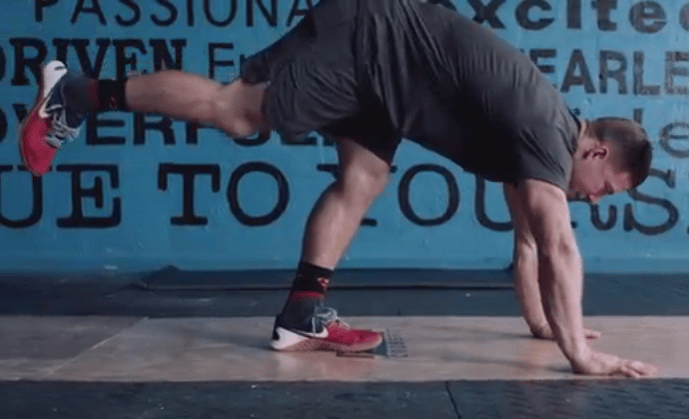
Before attempting a handstand pushup, it’s a good idea to get familiar with being in the inverted position. Noah recommends using the following exercise to get comfortable kicking up onto your hands and putting some weight on them:
- Place your hands on ground
- Lock out your arms
- Kick one leg up off the ground
- Kick the other leg up and try to meet your foot that’s in the air
Step 2: Establish a Strong Starting Position
 Once you have Step 1 down, you can then make your way over to the wall. The start will be the same as the previous motion, but now you will have the wall to catch you. After kicking up onto the wall, it’s important to establish a strong starting position. This means that you’re pressing through your hands, everything is tight and engaged throughout your body (you’re squeezing your ribcage and butt so you don’t end up in a hyperextended position), and you are reaching tall while keeping your feet together.
- Hands down on the ground
- Kick one foot up
- Kick the other foot up to meet it
- Feet make contact with wall
- Press tall
- Keep your head through your arms
- Make sure everything is squeezed down and tight
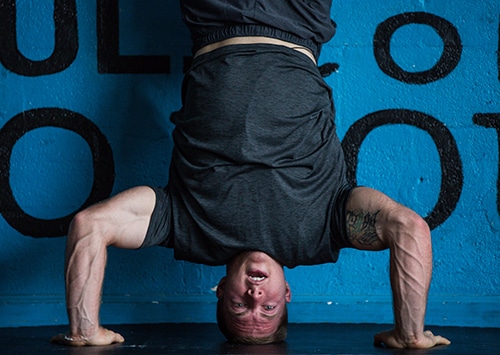
After a strong starting position is established, it’s then time to lower your body and get your head onto the mat with a slow, controlled movement. In this position, you want to make sure that your hands and head form a triangle shape. Similar to pressing a barbell, you’re not going to press directly in line with your head, so you want your hands to be slightly out in front of your head. While lowering your body down, keep only your heels on the wall until your head gets to the floor.
From this position, you can then go into a strict or kipping handstand pushup. The next part will vary based on which movement you are doing. Either way, make sure you stay engaged and press through until you get back up into the top position.
Step 3: Develop the Handstand Pushup
Strict Handstand Pushup
There’s not a lot of technicality with a strict handstand pushup, you will just keep the same position you are in and then push your body back up. However, Noah says that the one thing that has helped him a lot is having his hands turned outward. He shares that this hand positioning allows for a more efficient lock out. Try this on your next round of handstand pushups to see if this strategy works for you.
Kipping Handstand Pushup
For a kipping handstand pushup, after you complete Step 2 and are in the head-on-floor position, you will then take your feet off the wall and make your butt and low back the contact point on the wall. Then tuck your knees down to your elbows, build up some tension, and then just like a cannonball think about kicking your legs and pressing your arms up. This will help pop your body out of the bottom of that handstand position. Once you start getting better at this movement, try tucking as you lower your body. This will allow you to cycle the handstand pushup a lot more efficiently.
You may also like:
Mastering the Ring Muscle Up with Scott Panchik