Master the Rowing Machine: Proper Form & Quick Tips
Rowing is one of those workouts that people love to hate and hate to love. It’s such a good exercise for you, but it can also be one of the most difficult. This article (and video) featuring Noah Ohlsen will help guide you through proper rowing form, how to avoid common mistakes, and a few quick tips to help you master the rowing machine.
Proper Rowing Form
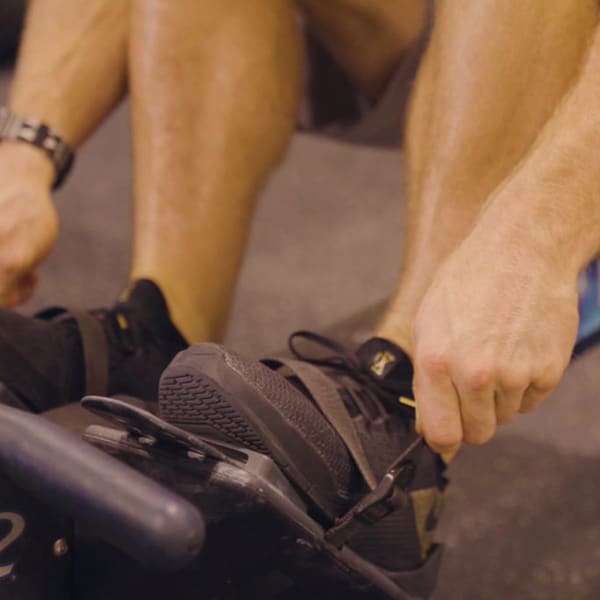
- Set up your foot position
- The angled pad should be on the ball of your foot. Noah has found that this is where he generates the most power.
- Pull the foot straps tight
- Quick tip: If you are doing a workout where you need to transition in and out of the rower, set up the foot straps just at the verge of the point where it’s loose enough to get your feet in and out quickly, but tight enough where they aren’t going to be sliding all over.
- Once you find the sweet spot, put a piece of tape around the extra piece of strap so it will stay exactly where you want it. By doing this, you also won’t have to worry about the hanging strap getting in the way when you are getting your foot in and out of the rower.
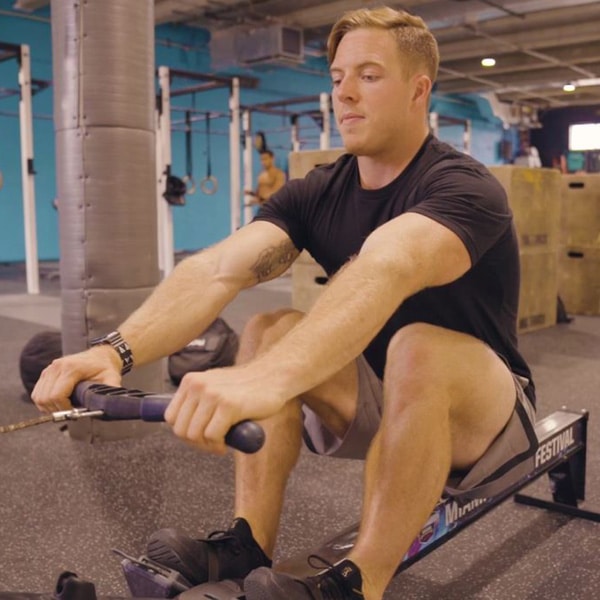
- Get your body in position from the top down
- Your back should be flat, lats engaged, and hips hinged forward
- Grab the handle
- The proper way to grip the handle is to wrap your fingers around the top and your thumb around the bottom.
- Noah prefers to grip the handle by wrapping his fingers around the top and extending his thumb out on the inside of the handle. Choose a position that is comfortable for you.
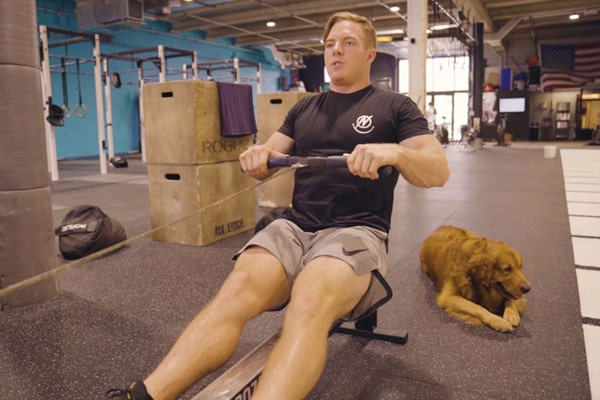
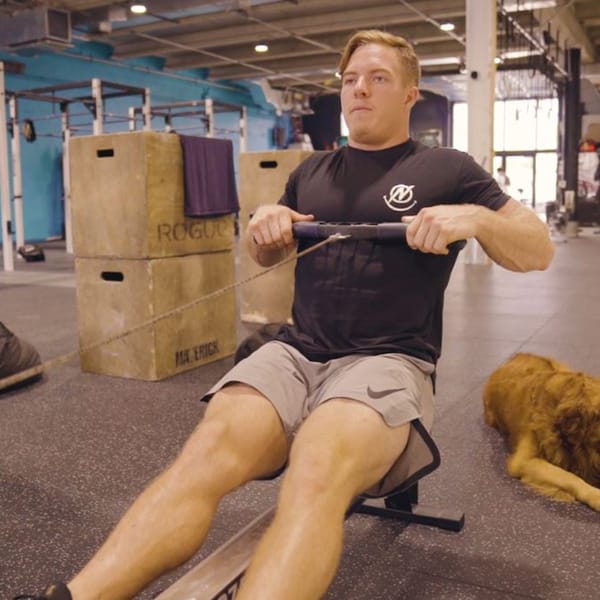
- Time to start rowing
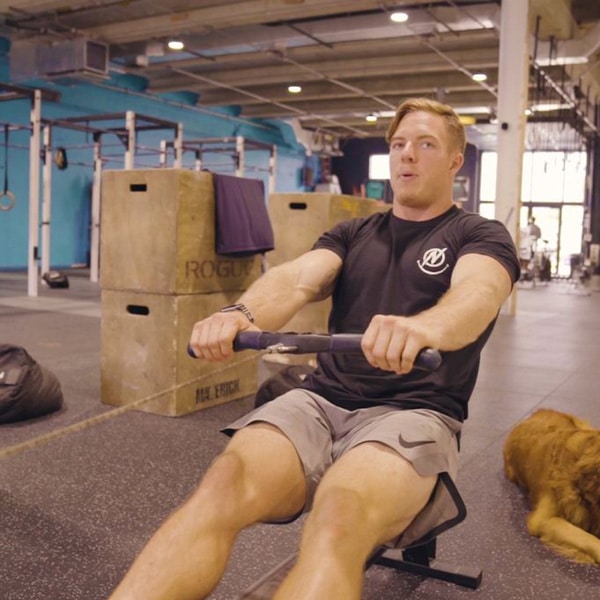
- Initiate the movement by driving through your legs.
- Once you get to the point where your legs are almost straight, start to hinge at your hips.
- After your hips are opened up a bit, pull the handle with your arms.
- The rower handle should end up just at the bottom of your chest.
- Reverse the movement- let your arms go straight, hinge hips back in, bend your legs until you get back to that starting position.
- Repeat

1 2 3
Common Rowing Mistakes
Don’t be that person at the gym with poor rowing form. Some of the most common mistakes that people make are:

- Pulling too soon– Don’t use your arms to pull the handle until you’ve already pushed with your legs and hinged at your hips. Pulling with your arms is the last piece of the movement.
- Not using legs for the whole movement– Make sure to push through with your legs until they are almost straight.
- Opening up hips too soon– Don’t hinge at your hips until your legs are almost straight. Some people have a tendency to lean back too early
- Driving hips too far back– Some people will push their hips back with their legs and then pull the handle with their arms. The proper technique is to pull the handle back using power from your legs for the first part and then ending with the final pulling power coming from your arms.
- Poor handle pulling– Many people pull the handle down and then up and around their knees. Instead, the cable should stay in the same position all the way through the movement. Imagine that you’re keeping the cable right on a tabletop. There shouldn’t be much up and down movement as you’re going in and out on the row.
Make sure you perfect your form before worrying about speed or power. Increase your speed once you have the proper rowing form down.
Rowing Machine Quick Tips
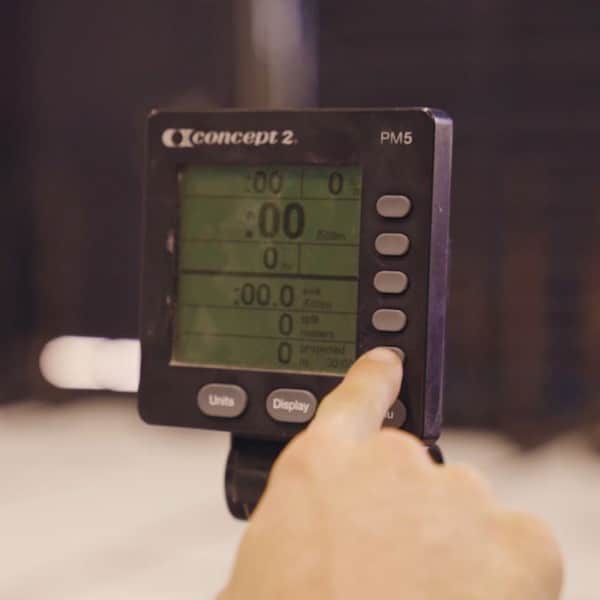
Damper setting on the rowing machine Button that will adjust screen setting
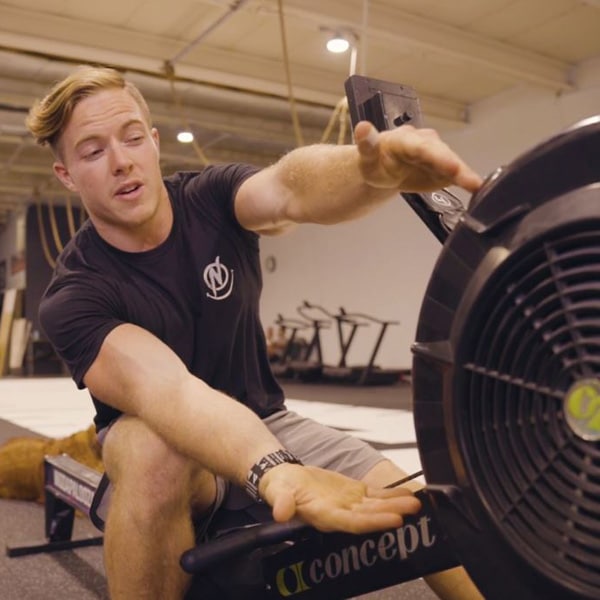
You’ll need to adjust the damper to your preferred setting before beginning to row. The damper controls how much air is allowed in and out of the filter. The higher you set it, the more difficult it will be to pull the chain, but in return you will get more rewarded for each row. Lower settings will make it easier and quicker to row, but you won’t get as much out of each stroke.
For a longer and slower rowing workout, Noah brings the damper setting down to a lower level (around a 5). For a fast paced and powerful workout, Noah pumps the setting up higher (around an 8). For a typical workout, Noah usually sets the rower at a 6 or 7.
Another quick tip to help eliminate distractions and enhance focus on what you’re trying to achieve, try adjusting the screen. When you set up to “Just Row”, the screen will be filled with a ton of information which can make it difficult to see where you’re at with the main metrics. Instead, click the bottom unmarked button on the column of buttons on the right. The screen will then be simplified and you’ll be able to focus more on maintaining your pace.
A new rowing mindset…
While doing some tough rowing intervals recently, Noah started to think about rowing in a new light that may help you as well. When rowing, effort is only needed for half of the time. On the pull you’re required to use a lot of power, but on the release back to starting position you’re really not doing any work. Rowing can often feel very difficult and laborious, but by keeping the mindset that you only need to work through half the row it may shift your thinking and ultimately help your performance.
Rowing Recovery
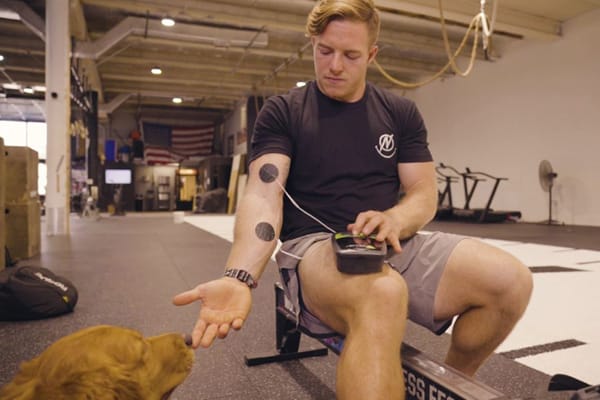
Recovery from a row can be variable depending on the person and what the workout entailed. Some common places that may be sore post rowing routine are your glutes, quads, and arms. Noah uses his Marc Pro to quickly recover post rowing workout.
Glutes: Place one pad on the right side of your low back and the other pad of the corresponding lead wire on the top part of your right gluteus maximus. Do the same thing on the left side of the body.
Quads: Place one pad on the bottom and the corresponding pad at the top of your right quad. Do the same set up on the left quad.
Arms: There are two placements options you can use to flush your arms. Option one is to place a pad on the palm of your hand and place the corresponding pad on the base of your bicep. The other option is to place a pad on the middle of your forearm and the base of your bicep. Whichever placement option you choose, do the same on the opposite arm.
You may also be interested in: